
Every summer my Mom would can many quarts of cherries. We had canned fruit for dessert a few times each week during the winter months so that meant she needed to have many jars of cherries, peaches, pears, apricots and plums. Cherries were always a favourite and especially if she remembered to put the jar in the refrigerator to chill. We eat fresh cherries like there is no tomorrow but I do like to can a few small jars. Canned cherries are a necessary ingredient for Plumi Moos.
Mom never pitted the cherries before canning and I never do either. You can go ahead and pit them but it is not necessary. You can remove the pits as you eat them as though they were fresh. Since cherries are already sweet we prefer ours canned with a very light syrup. Cherries are acidic and are safely canned using a hot water process.
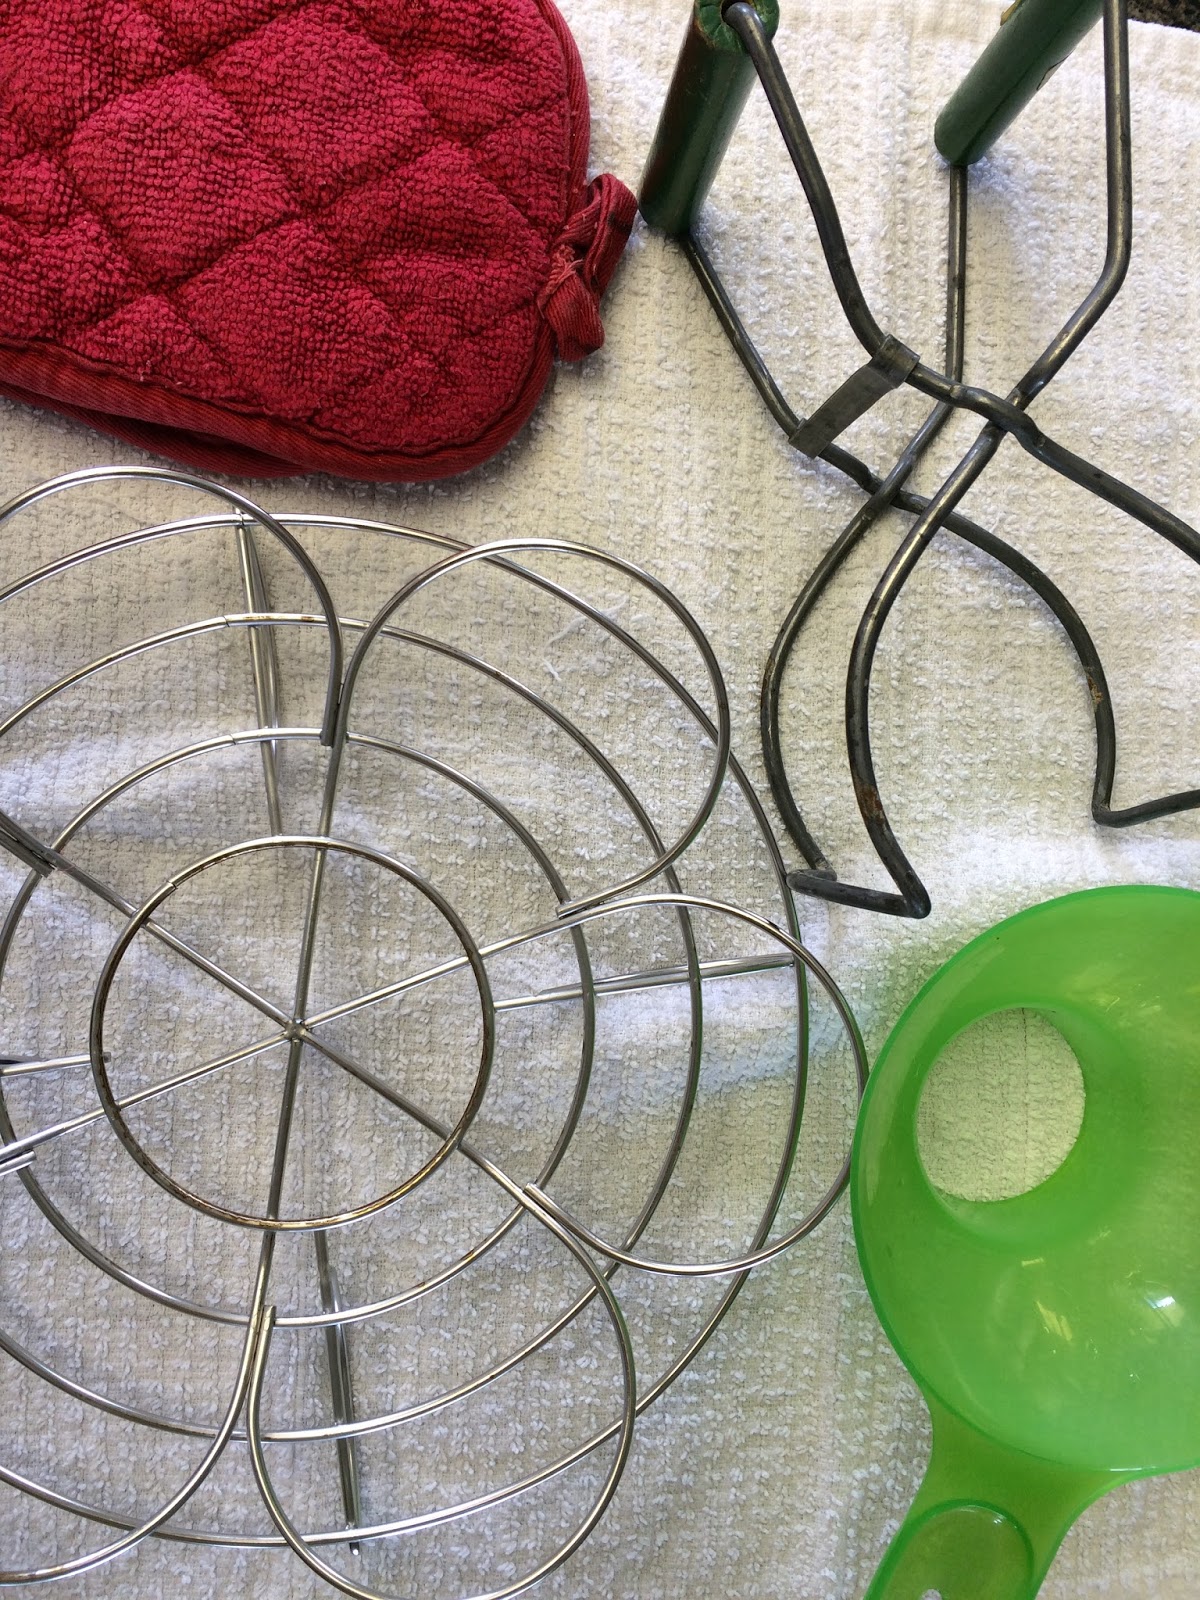
Tools needed
- a water bath canner with a rack (I use a universal canning rack with one of my own very large pots)
- pint jars with seals and rings
- a canning funnel
- jar lifter
- measuring cup
- pot to make syrup
- 12 pounds of sweet cherries make about 9-500 ml/pint jars
- 9 cups of water
- 2 cups sugar
- Run the jars through the dishwasher. Keep the jars in the closed dishwasher to stay warm until you are ready to fill.
- Prepare canner by filling with water and bringing to a boil.
- Make syrup by bringing water and sugar to a boil and then simmer until you are ready to fill jars.
- Wash the cherries, remove stems and poke with a sterilized pin on the opposite side of the stem to keep the cherries from bursting. You do not need to do this if you pit your cherries.
- Using a canning funnel, Pour 1/2 cup syrup into jar, fill with cherries and add more syrup to cover cherries. Leave a 1/2 inch headspace at the top of the jar.
- Wipe rim, center lid on top and then put on ring and screw tight.
- Using the jar lifter, lower the jars into boiling water or lower the rack if it has handles. The jars should be covered by at least an inch of water. Once the water comes to a boil again, process in boiling water for 15 minutes.
- Remove jars using the jar lifter or lift the rack if it has handles. Place on a tea towel to cool. Listen for the jars to pop, which means they have sealed. Refrigerate any jars that do not seal. Sealed lids will look inverted but avoid the temptation to press the lid and help it along.


